lego pyramid of giza instructions
Welcome to the LEGO Pyramid of Giza instructions guide! This comprehensive guide helps you build set 21058, offering step-by-step instructions and historical insights.
1.1 Overview of the LEGO Set 21058
The LEGO Set 21058, part of the Architecture series, recreates the Great Pyramid of Giza with 1476 pieces. Released in 2022, this detailed model stands 14 cm high and 20 cm wide, offering a cross-section view of the pyramid’s internal tunnels and chambers. The set includes a single instruction booklet with 176 pages, guiding builders through constructing this iconic wonder. Perfect for history enthusiasts, it captures the pyramid’s grandeur and historical significance in LEGO form.
1.2 Historical Significance of the Great Pyramid of Giza
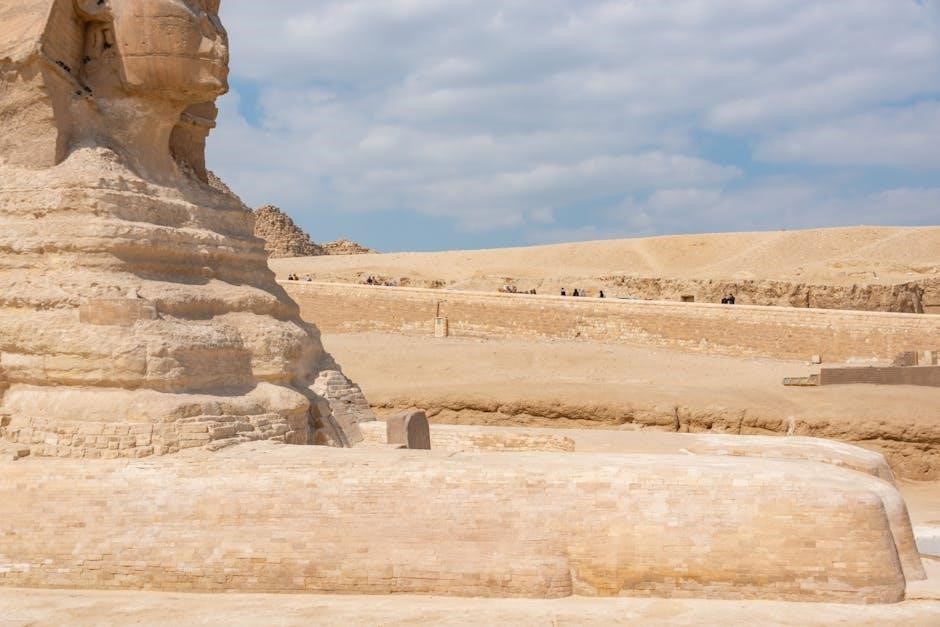
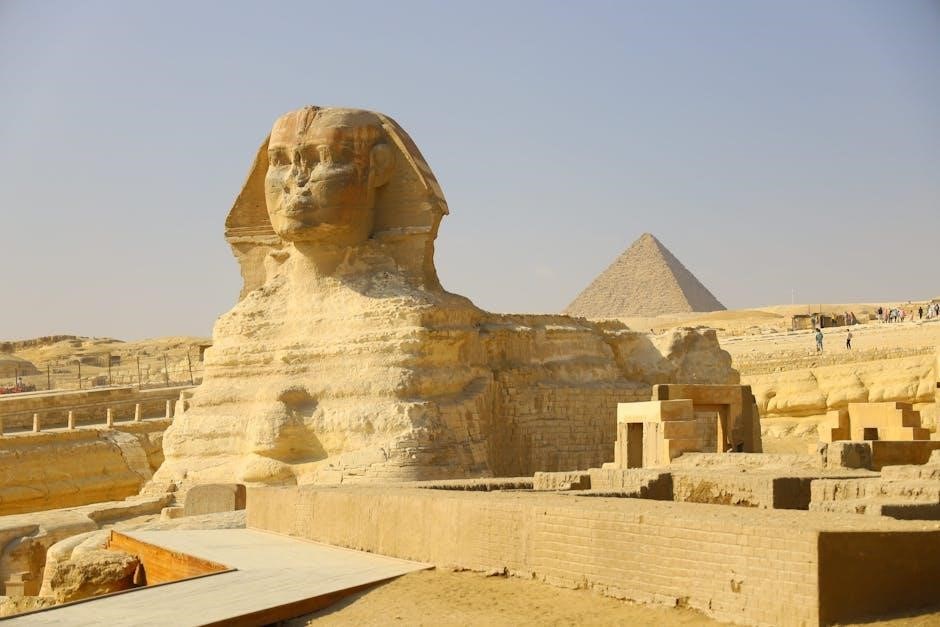
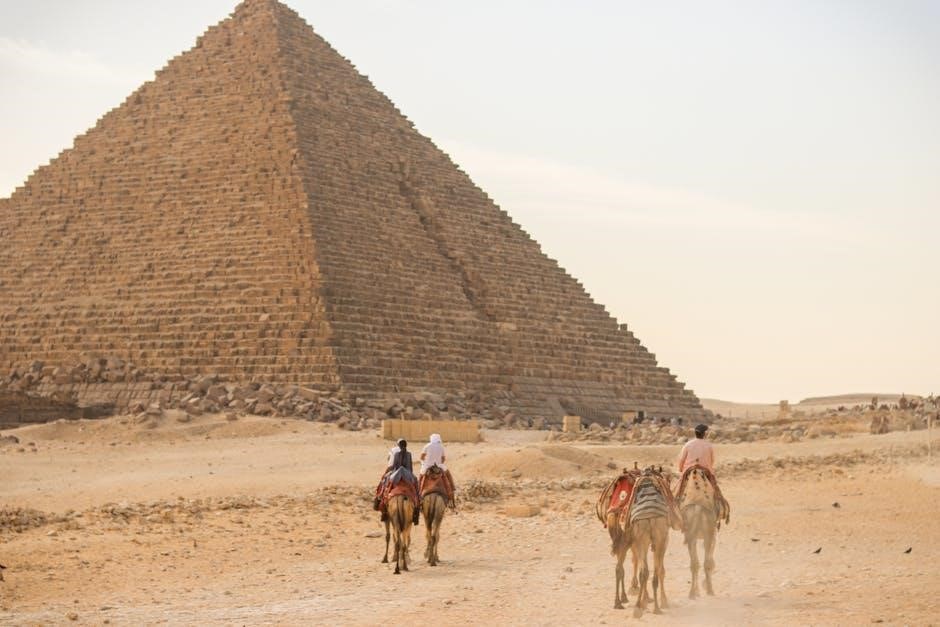
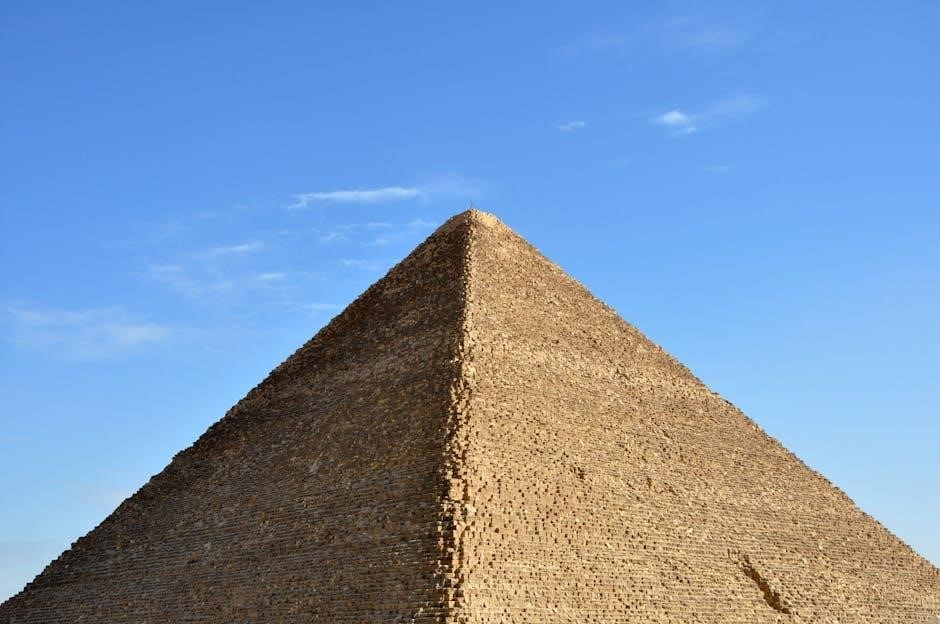
The Great Pyramid of Giza, built as a tomb for Pharaoh Khufu around 2580 BC, is the oldest and only remaining ancient wonder of the original Seven Wonders of the World. This architectural marvel symbolizes ancient Egypt’s engineering prowess and cultural legacy. Its intricate internal chambers and precise construction continue to inspire awe and curiosity, making it a timeless subject for historical study and LEGO recreation.
1.3 Importance of Following LEGO Instructions
Following LEGO instructions ensures a precise and enjoyable building experience, especially for complex sets like the Great Pyramid of Giza. These guides help manage the set’s 1,476 pieces, offering step-by-step clarity to achieve stability and accuracy. By adhering to the instructions, builders can faithfully recreate the pyramid’s historical details and appreciate its architectural brilliance. This structured approach also enhances the satisfaction of completing such an iconic model.
Understanding the LEGO Instructions
The instructions provide a clear, step-by-step guide to assembling the Great Pyramid of Giza, ensuring every piece is placed correctly for a precise and stable build.
2.1 Navigating the Instruction Manual
The LEGO Great Pyramid of Giza instruction manual is a detailed 176-page guide. It begins with an overview of the set and provides clear, numbered steps. Each section focuses on specific parts of the build, using visual cues and symbols to indicate piece placement. Early pages often include tips for sorting and organizing bricks. Beginners should take time to familiarize themselves with the notation system, while experienced builders can quickly identify key stages. Patience and careful attention to detail are essential for a successful build. This manual ensures even the most complex aspects are approachable, leading to a perfect completion of the model.
2.2 Key Symbols and Notations Used
The instruction manual for LEGO set 21058 uses specific symbols and notations to guide builders. These include part callouts, assembly icons, and color-coded sections to distinguish different components. Symbols indicate piece orientation, while numbered bags help organize the build process. Special notations highlight crucial steps, ensuring accuracy. Familiarizing yourself with these symbols is essential for a smooth building experience, as they clarify complex instructions and streamline the assembly process.
2.3 Preparing for the Build: Sorting and Organizing Pieces
Sorting and organizing LEGO pieces is crucial for efficiency. Begin by separating elements into categories like bricks, plates, and specialized parts. Use the numbered bags provided to group pieces by step. This method ensures easy access during construction. Organizing your workspace with trays or containers helps maintain order and reduces time spent searching for specific components. A well-prepared setup enhances your building experience and makes following instructions smoother.
Building the Base of the Pyramid
The base of the pyramid forms the foundation of your LEGO model. Start by constructing the first layer, ensuring precise alignment for stability. This step is crucial for achieving the correct proportions and setting the stage for the rest of the build. Use the provided instructions to guide the placement of each piece carefully.
3.1 Step-by-Step Guide to Constructing the Foundation
Begin by identifying the base pieces, which form the structural backbone of the pyramid. Start with the large, flat plates to create a stable surface. Carefully attach the bricks in the pattern outlined in the manual, ensuring alignment is precise. Each subsequent layer builds upon the last, gradually narrowing as you ascend. Use the guide to check the placement of each brick, ensuring the foundation is level and secure. This step is critical for achieving the pyramid’s iconic shape.
3.2 Aligning the Base Layers for Stability
Proper alignment of the base layers is crucial for the pyramid’s structural integrity. Use the instructions to ensure each layer is perfectly positioned, with bricks snugly fitting together. Check for evenness and levelness to avoid misalignment, which can destabilize the entire model. Pay attention to the guide’s symbols for precise placement. A stable base ensures the pyramid stands upright and maintains its iconic shape throughout the build. This step requires patience and careful attention to detail.
3.3 Integrating the Inner Chambers and Tunnels
The LEGO Pyramid of Giza set includes intricate inner chambers and tunnels, adding historical accuracy and depth. Follow the instructions to carefully integrate these features into the base structure. The King’s and Queen’s chambers, along with the Grand Gallery, are meticulously detailed. Ensure proper alignment using specialized pieces to create smooth passageways. These hidden compartments enhance the model’s authenticity, making it a true architectural marvel. Precision is key to achieving a seamless interior design.
Constructing the Exterior of the Pyramid
Construct the exterior of the LEGO Pyramid of Giza by adding outer layers, smoothing edges, and incorporating details like the capstone for a polished finish. Ensure structural integrity with precise brick placement.

4.1 Adding the Outer Layers and Smoothing the Edges
Begin by attaching the outer layers to the base, ensuring each brick aligns perfectly for a seamless structure. Use flat plates and tiles to smooth the edges, creating a uniform surface. Pay attention to symmetry and precision, as this step defines the pyramid’s iconic shape. Follow the instructions carefully to avoid mismatches. Once completed, the exterior should appear smooth and visually striking, mirroring the original Great Pyramid’s aesthetic.
4.2 Incorporating Details Such as the Capstone
The capstone is a defining feature of the Great Pyramid of Giza, symbolizing its completion. Carefully place the capstone at the apex of the pyramid, ensuring it aligns with the outer layers. Use the provided LEGO elements to secure it firmly. Add surrounding details such as the base and edges, ensuring they are smooth and aligned. This step enhances the model’s authenticity and visual appeal, capturing the essence of the original structure’s grandeur.
4.3 Finalizing the Exterior Structure
Complete the exterior by ensuring all layers are securely attached and properly aligned. Smooth out any uneven edges and verify that the capstone sits perfectly at the apex. Double-check the base for stability and make sure all visible surfaces are free of gaps. This step ensures a polished and professional appearance, mirroring the original Pyramid of Giza’s iconic exterior;
Interior Details and Hidden Features
Explore the intricate details inside the LEGO Pyramid of Giza, including the King’s Chamber, Queen’s Chamber, and Grand Gallery. Discover hidden compartments and secret passages.
5.1 Building the King’s Chamber and Queen’s Chamber
The King’s Chamber and Queen’s Chamber are central features of the LEGO Pyramid of Giza. Begin by constructing the base of each chamber using flat plates and bricks. Add walls and ceilings, ensuring alignment for structural integrity. Incorporate intricate details such as the King’s Chamber’sgranite-like texture. Use specialized LEGO elements to replicate the chambers’ unique architectural features. Follow the instructions carefully to ensure accuracy and stability. These chambers are essential to the pyramid’s historical authenticity.
5.2 Adding the Grand Gallery and Other Internal Passages
The Grand Gallery is a striking feature of the LEGO Pyramid of Giza. Use sloped LEGO pieces to create its iconic angled walls. Follow the instructions to build the gallery’s length and height, ensuring proper alignment. Add details like the roof and floor. Other internal passages, such as the Descending Passage, connect the chambers. Use precise brick placement to maintain structural integrity and historical accuracy. These passages add depth to the model.
5.3 Including Hidden Compartments and Secrets
Discover the hidden compartments and secrets within the LEGO Pyramid of Giza. Use specific LEGO pieces, such as small tiles or bricks, to create concealed spaces. Follow the instructions to integrate these details seamlessly into the structure. For example, a small heart piece is hidden inside the chest, adding a unique touch. These secret elements enhance the model’s intrigue and historical authenticity without compromising its exterior design.
Tips and Tricks for a Successful Build
Start by sorting pieces to streamline the process. Use the instruction manual as your guide, and pay attention to hidden details like the heart piece.
6.1 Managing the Complexity of the Design
The LEGO Pyramid of Giza is intricate, with 1476 pieces. To manage complexity, sort pieces by type and color beforehand. Break the build into sections, focusing on one layer at a time. Use the manual to track progress and ensure alignment. Pay extra attention to internal chambers and tunnels, as they are essential for stability. Taking it step-by-step will help maintain clarity and reduce overwhelm.
6.2 Troubleshooting Common Mistakes
Common mistakes include misaligning layers, which can destabilize the pyramid. Double-check each step and ensure pieces are placed correctly. Missing or misplaced parts can disrupt the build; verify counts before starting. Internal chambers may seem complex, but following the manual’s symbols ensures accuracy. If a piece doesn’t fit, don’t force it—retrace your steps. Patience and attention to detail are key to avoiding errors and achieving a precise, stable structure.
6.3 Enhancing the Model with Custom Modifications
Custom modifications can elevate your LEGO Pyramid of Giza. Some fans combine two sets to create a full pyramid, while others add internal lighting for a glowing effect. You can also incorporate mini-figures of workers or tourists to add life to the display. Explore LEGO fan communities or forums for inspiration and instructions on unique mods. Personalizing your build makes it truly one-of-a-kind and showcases your creativity.
Completing the LEGO Pyramid of Giza is a rewarding experience. Display your model proudly and share your achievement with fellow LEGO enthusiasts. Check out the LEGO community for inspiration and additional tips.
7.1 Reviewing the Completed Model

Once your LEGO Pyramid of Giza is complete, take a moment to admire the intricate details and precision of your craftsmanship. Ensure all elements, such as the base layers, outer walls, and inner chambers, are accurately aligned and secure. Check for any misplaced bricks or gaps, especially around the capstone and tunnels. The finished model should reflect the historical accuracy and architectural marvel of the original Great Pyramid. Be proud of your accomplishment!
For the best display, ensure the model is placed on a sturdy surface, away from direct sunlight to prevent color fading. Consider adding a background or lighting to enhance the visual appeal. Finally, share your achievement with friends or online communities to inspire others. Your patience and dedication have brought this ancient wonder back to life in LEGO form.
7.2 Displaying Your LEGO Pyramid of Giza
Your LEGO Pyramid of Giza deserves a prominent display. Place it on a sturdy base or within a glass case to protect it from dust. Use soft lighting to highlight its intricate details and textures. Consider adding a backdrop or informational plaque to enhance its historical context. Position it in a living room or office for admiration. Avoid direct sunlight to preserve the colors. This architectural marvel will captivate all who see it, sparking conversations about ancient Egypt’s legacy.
7.3 Sharing Your Build with the LEGO Community
Sharing your LEGO Pyramid of Giza with the community is a great way to connect with fellow enthusiasts. Post high-quality photos on platforms like Instagram, Facebook LEGO groups, or LEGO forums. Use hashtags like #LEGOPyramid or #LEGOArchitecture to increase visibility. Participate in local LEGO events or conventions to showcase your model. Engage in discussions, share tips, and inspire others with your creative display ideas. This fosters camaraderie and celebrates your accomplishment.
Discover the ultimate step-by-step guide to building the Lego Pyramid of Giza! Unleash your creativity and construct this ancient wonder with our detailed instructions.