instruction manual for white sewing machine

Safety Precautions and Cautions
Always handle the polarized plug safely to avoid electrical hazards. Keep the machine away from water to prevent damage or electrical shock; Use the machine only for household purposes and follow all safety guidelines provided in the manual to ensure safe operation.
1.1. General Safety Guidelines
Before using the White sewing machine, carefully read the instruction manual to understand all safety precautions. Always ensure the machine is placed on a stable, flat surface to prevent accidents. Keep children and pets away while operating the machine. Avoid sewing when tired or distracted, as this can lead to mistakes. Use only the needles and accessories recommended in the manual to maintain safety and performance. Never touch the needle or other moving parts with your hands. Keep loose clothing and long hair tied back to avoid entanglement. Unplug the machine when not in use or during maintenance. Regularly inspect the machine for damage and ensure all parts are securely fastened. Follow these guidelines to ensure safe and effective operation of your White sewing machine.
1.2. Polarized Plugs and Electrical Safety
The White sewing machine features a polarized plug, a critical safety component designed to prevent electrical hazards. Never attempt to modify or bypass this feature, as it can lead to serious safety risks. Avoid using adapters or altering the plug in any way, as this may result in electrical shock or machine damage. Keep the machine away from water and moisture, as this can compromise electrical safety. Do not operate the machine with a damaged cord or plug. Always unplug the machine when not in use or during maintenance to ensure your safety. Adhere to these electrical safety guidelines to protect yourself and maintain the machine’s functionality.
1.3. Avoiding Water Exposure
Prevent water or moisture from coming into contact with the sewing machine, as it can damage internal components and pose electrical risks. Avoid sewing damp or wet fabric, as this may harm the machine. Do not submerge any parts in water or expose them to excessive humidity. Clean the machine with a dry cloth to maintain its functionality. If the machine gets wet, unplug it immediately and allow it to dry completely before use. Keep the sewing area dry to ensure safe and efficient operation. Water exposure can lead to rust, electrical malfunctions, or permanent damage, so handle the machine with care in moist environments.
Parts and Accessories of the Sewing Machine
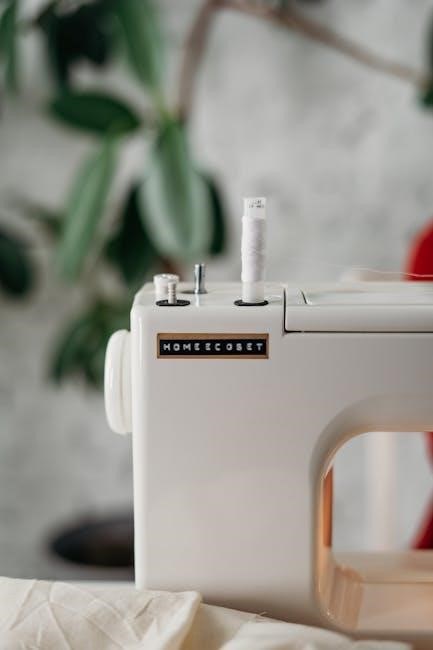
The White sewing machine includes essential components like the bobbin, presser foot, and stitch selector. Accessories such as needles, extra bobbins, and a sewing table are often provided.
2.1. Main Components of the White Sewing Machine
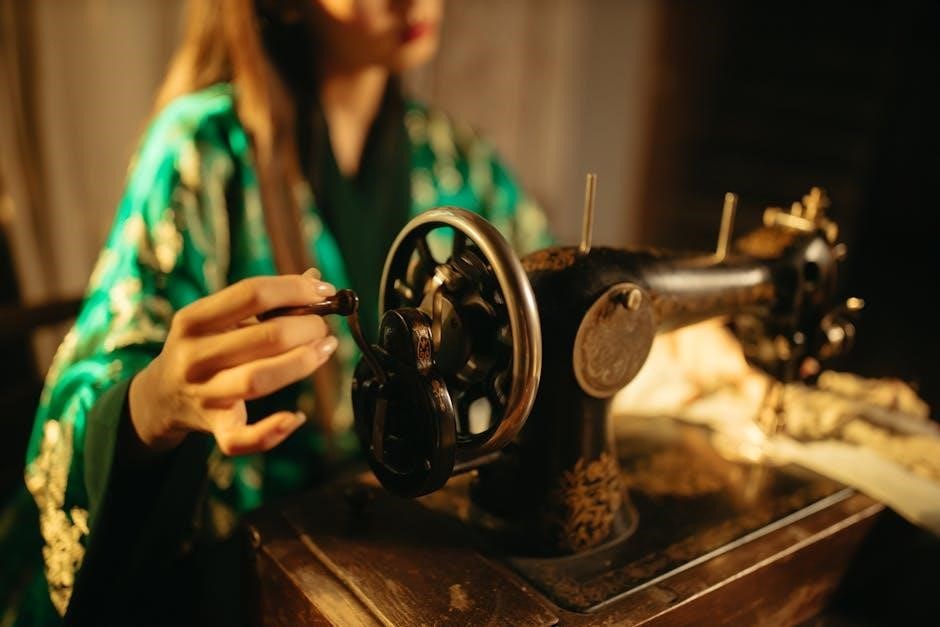
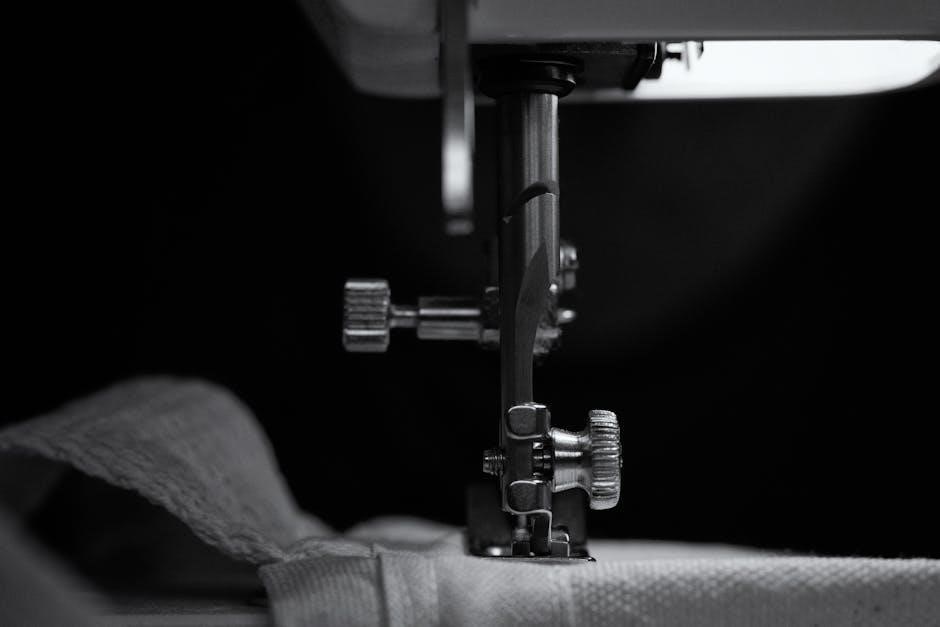
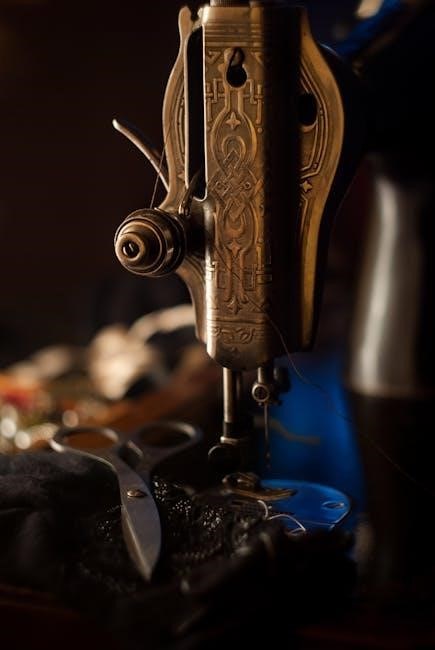
The White sewing machine features a sturdy frame, a rotating hook for bobbin management, and an adjustable stitch regulator. The control panel includes stitch selection, speed control, and tension dials. The machine also has a free-arm option, allowing easy access for sewing cuffs and trouser legs. Additional components include a built-in light for illumination and a reverse stitch lever for securing seams. These parts work together to ensure smooth and efficient sewing operations, catering to both basic and advanced sewing tasks.
2.2. Accessories Included with the Machine
The White sewing machine comes with a variety of essential accessories to enhance your sewing experience. These include multiple presser feet for different sewing tasks, such as zipper, buttonhole, and blind hem feet. Additional accessories like bobbins, needles, and a seam ripper are also provided. A soft dust cover protects the machine when not in use, while an extension table offers extra workspace for larger projects. The machine may also include a set of screwdrivers for adjustments and a spool pin for holding thread. These accessories ensure versatility and convenience, allowing you to tackle various sewing projects with ease.
Setting Up the Sewing Machine
Proper setup involves winding the bobbin, threading the machine, and attaching the presser foot. Use the extension table for additional workspace during sewing projects.
3.1. Winding and Inserting the Bobbin
To wind the bobbin, cut a piece of thread and insert it through the bobbin’s hole. Wind the thread evenly around the bobbin, keeping it taut but not overly tight. Once full, cut the thread and insert the bobbin into the machine’s bobbin case. Ensure the thread is properly seated and gently pull it to secure the bobbin in place. Use the correct type of thread recommended in the manual for optimal performance. Avoid overfilling the bobbin, as this can cause stitching issues. Always refer to the manual for specific bobbin-winding techniques and troubleshooting tips to ensure smooth operation.
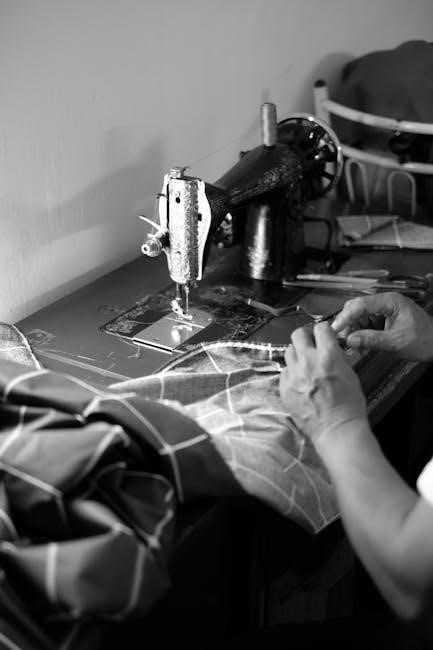
3.2. Threading the Machine Properly
Start by turning off and unplugging the machine for safety. Place the thread spool on the spool pin, ensuring it feeds correctly. Guide the thread through the tension discs, maintaining gentle tension. Loop the thread around the take-up lever and insert it through the needle’s eye. Pull the thread gently to seat it properly in the tension discs. Test the machine on scrap fabric to ensure even stitching. Follow the manual’s specific threading instructions for accurate setup and consistent results.
Operating the Sewing Machine
Start with a test stitch on scrap fabric to ensure proper tension. Use the foot pedal to control sewing speed and maintain steady fabric movement for consistent results.
4.1. Basic Sewing Operations
Begin by threading the machine correctly and inserting a proper needle. Place fabric under the presser foot, aligning edges carefully. Gently press the foot pedal to start sewing, maintaining steady fabric movement for straight stitches. Adjust stitch length and width as needed for different fabrics or tasks. Use the backstitch feature at the beginning and end of seams for reinforcement. For hard-to-reach areas, utilize the free-arm feature by removing the extension table. Always keep the work area well-lit and clear of loose objects. After sewing, lift the presser foot and pull excess thread to secure the seam. Regularly clean the machine to ensure smooth operation and extend its lifespan.
4.2. Using the Free-Arm Feature
To utilize the free-arm feature on your White sewing machine, begin by removing the extension table to expose the free arm. This allows for easier sewing of cylindrical or hard-to-reach areas like sleeves, cuffs, or trouser legs. Ensure the machine is on a stable surface and the free arm is securely locked in place to prevent any movement during operation. Use the appropriate presser foot recommended for free-arm sewing to maintain fabric stability. Adjust the stitch length and tension as needed for the specific fabric type. Keep the work area well-lit and clear of obstacles to enhance visibility and control. Practice on scrap fabric to become comfortable with the feature before working on actual projects. This will help you achieve smooth, consistent stitches and make sewing difficult areas more manageable. Always refer to your machine’s manual for model-specific instructions and safety guidelines.
4.3. Adjusting Stitch Length and Width
To adjust the stitch length and width on your White sewing machine, locate the stitch selector dial or buttons, depending on your model. For length adjustments, turn the dial to your desired setting, typically marked as “L” for longer stitches or “S” for shorter ones. For width adjustments, use the corresponding dial or button, ensuring the needle aligns correctly with the stitch width. Some models may require pressing a combination of buttons to achieve the desired width. Always test the stitches on scrap fabric before sewing your final project to ensure the settings are accurate. Refer to your machine’s manual for specific instructions, as controls may vary. Proper adjustment ensures even stitching and better fabric handling, especially for delicate or heavy materials. This feature allows for versatility in various sewing tasks, from general mending to intricate embroidery;
Maintenance and Troubleshooting
Regularly clean and oil the machine to ensure smooth operation. Check for common issues like thread jams, uneven tension, or needle misalignment, and address them promptly for optimal performance.
5.1. Cleaning and Oil Maintenance
Regularly clean the machine to remove dust and lint, which can affect performance. Use a soft brush or cloth to wipe down surfaces. Apply a few drops of sewing machine oil to moving parts, following the manual’s instructions. Avoid over-oiling, as it may attract dust. After cleaning, run a test stitch to ensure smooth operation. Always unplug the machine before performing maintenance. Proper oil maintenance ensures longevity and prevents mechanical issues. Clean the bobbin area and feed dogs regularly for consistent stitching. Store the machine in a dry place to prevent rust. Refer to the manual for specific oiling points and cleaning techniques. Regular maintenance will keep your sewing machine functioning optimally.
5.2. Solving Common Issues
Common issues with the White sewing machine can often be resolved with simple troubleshooting. If the machine skips stitches, check the needle for damage or incorrect installation. Ensure the bobbin is properly seated and the thread tension is balanced. For thread bunching, clean the machine thoroughly and rethread it. If the machine is noisy, lubricate the moving parts or check for lint buildup. Refer to the manual for specific solutions. For persistent problems, contact a professional technician. Regular maintenance and proper usage can prevent many common issues. Always unplug the machine before attempting repairs. Consult the troubleshooting section in the manual for detailed guidance on resolving specific malfunctions effectively.
Additional Resources
Access the White sewing machine manual and additional resources through the Singer website. Find replacement parts and accessories easily for optimal performance and maintenance.
6.1. Downloading the Instruction Manual
The instruction manual for your White sewing machine can be easily downloaded from the Singer website or other trusted sources. Many models, including the White 212/312 and Jeans Machine 1577, have manuals available in PDF, TXT, or DOC formats. Visit the Singer website, search for your specific model, and follow the download prompts. Ensure you select the correct model number for accurate instructions. Additionally, websites like ManualsLib or the Internet Archive may host these manuals for free. Always verify the source for authenticity to avoid downloading incorrect or outdated versions. Save the manual in a safe place for future reference and easy access.
6.2. Finding Replacement Parts and Accessories
Replacement parts and accessories for your White sewing machine can be sourced from trusted suppliers or the Singer website. Visit the Singer website or platforms like ManualsLib to find compatible parts for models such as the White 212/312 or Jeans Machine 1577. Ensure authenticity by purchasing from authorized dealers or official sources. Verify compatibility with your specific model number to avoid mismatches. Additionally, the Internet Archive and other online repositories may offer access to historical manuals and parts lists. Always check multiple sources to locate rare or discontinued accessories. For obsolete parts, consider reaching out to sewing communities or vintage sewing machine forums for assistance. This ensures your machine remains functional and well-maintained over time.
Discover the ultimate guide for your White sewing machine! Learn tips, troubleshooting, and maintenance with our easy-to-follow instruction manual.